

[Unity]오브젝트 바운딩하기
이번에는 오브젝트를 바운딩해 보겠습니다.
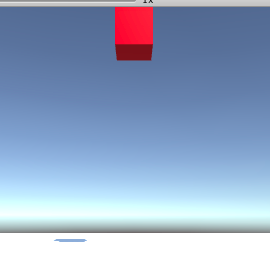
아래와 같이 큐브를 준비하고 빨간색 머티리얼을 적용합니다.
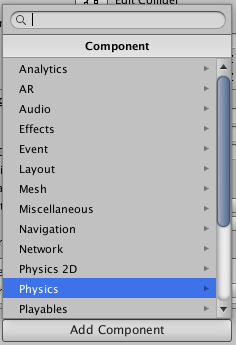
준비된 큐브에 컴포넌트를 추가합니다
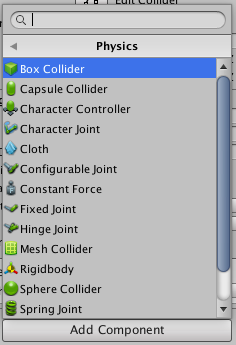
Physics > Rigidbody를 선택합니다.
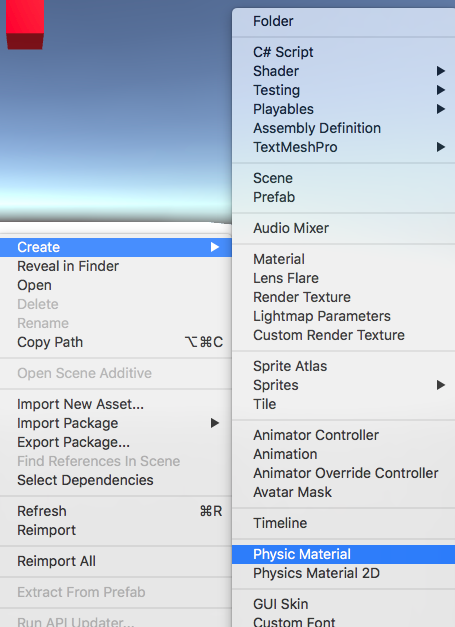
그런 다음 Project 내에서 우클릭하고 Create > Physic Material을 선택합니다.
Physic Material에 이번에는 bound라는 이름을 붙였습니다.
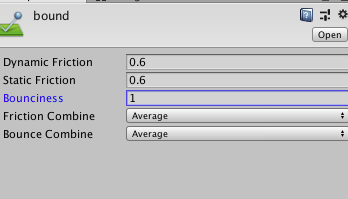
다음으로 이 bound를 선택한 상태에서 Inspector의 ‘Bounciness’를 1로 설정합니다. 1이 최대값인 것 같습니다.
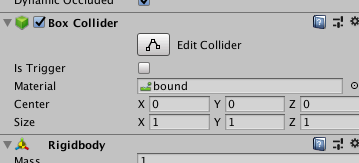
‘Bounciness’를 설정한 후 빨간색 큐브를 선택하고 bound를 Inspector로 드래그 앤 드롭하면 아래와 같이 적용된다.
이제 재생 버튼을 누르면 빨간 큐브가 아래로 떨어지면서 바닥에 닿으면 바운스됩니다.
![[Unity] Terrain에 심은 풀을 스크립트에서 지우기](https://kuroko-labo.com/wp/wp-content/uploads/2025/05/grass2.png)
![[Unity] Photon의 PUN2에서 임의의 타이밍에 메서드 실행하기](https://kuroko-labo.com/wp/wp-content/themes/kuroko3/images/noimage.png)
![[Unity]Gaia Pro 2023으로 필드를 만들어 보았습니다.](https://kuroko-labo.com/wp/wp-content/uploads/2025/01/image06.png)
![[Unity]OLD TV Filter를 구입해 보았다](https://kuroko-labo.com/wp/wp-content/uploads/2019/11/image05.png)
![[Unity]localPosition을 이용하여 벨트 컨베이어 같은 것을 만든다.](https://kuroko-labo.com/wp/wp-content/uploads/2019/06/image01-1.png)
![[Unity]마우스가 클릭되면 진행하는 서클 게이지를 만들어 봅니다.](https://kuroko-labo.com/wp/wp-content/uploads/2019/07/circle.fw_.png)